
Installation
Download and install Quiet Typist for Windows or Mac, then let it set up the local speech models it needs on first launch.
Download the installer for your computer from the Quiet Typist download page.
Install on Windows
1. Open the installer
Download the Windows .exe installer and double-click it. On the welcome screen, click Next.
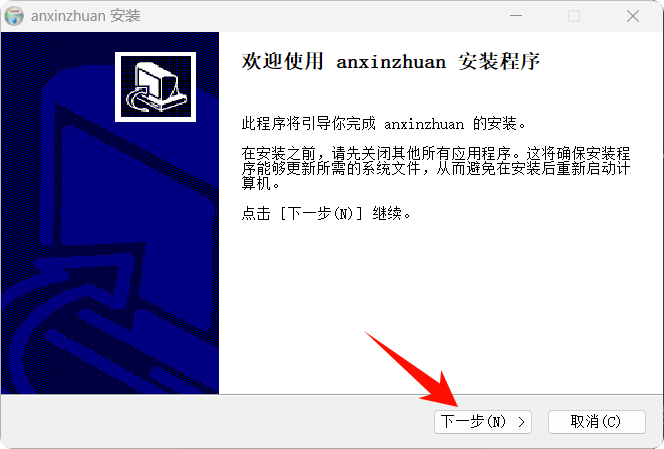
Welcome screen: click Next to begin.
2. Choose an install location
Keep the default folder or click Browse to pick another one, then click Next.
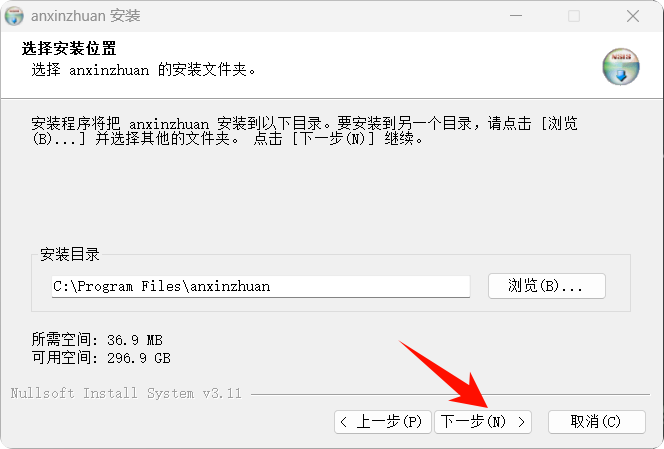
Choose an install folder and continue.
3. Wait for the installation to finish
The installer copies the app files and sets up the required components. When it shows that installation is complete, click Next.
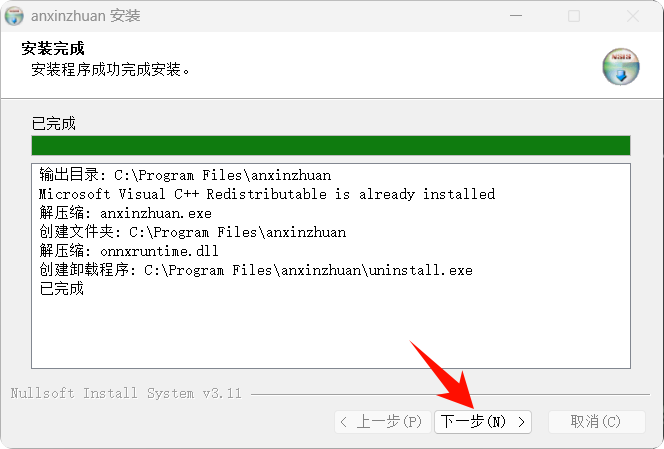
Once the files are installed, you're on the last step.
4. Finish and launch
Choose whether to run Quiet Typist now and create a desktop shortcut, then click Finish.
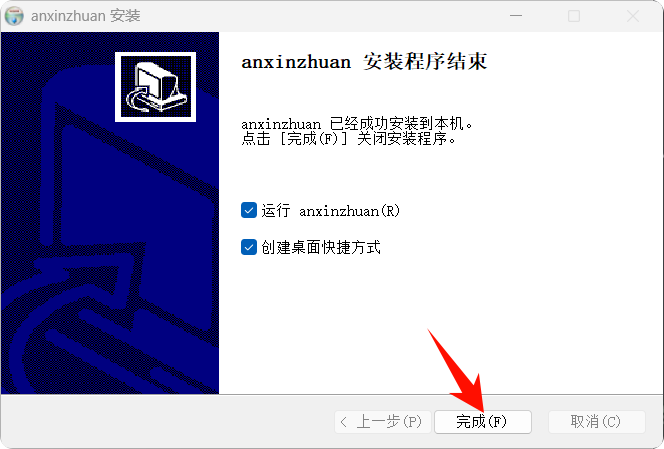
Click Finish to close the installer and open Quiet Typist.
Install on macOS
1. Open the disk image
Download the universal Mac .dmg and double-click it once the download finishes.
2. Drag the app to Applications
In the window that opens, drag the Quiet Typist icon onto the Applications folder on the right.
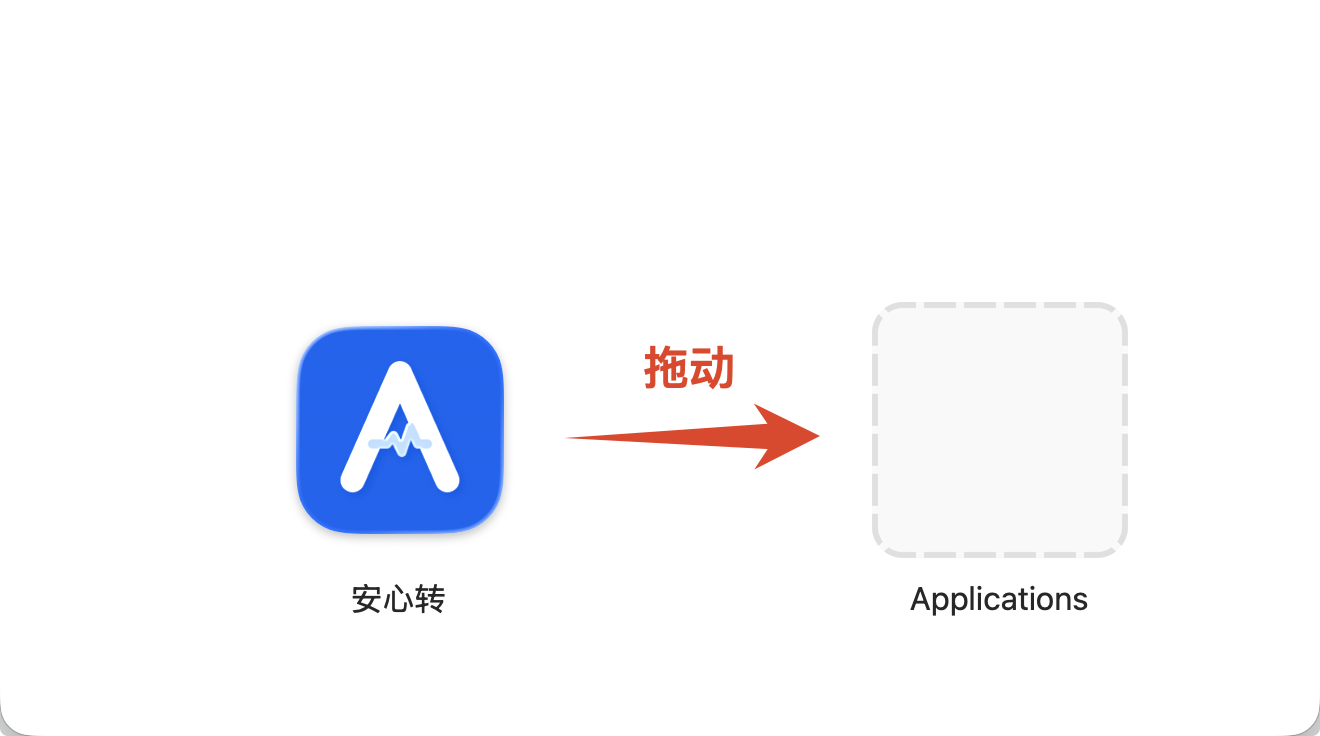
Drag the Quiet Typist icon and wait for the app to finish copying.
3. Open Quiet Typist
When copying is done, open Quiet Typist from your Applications folder.
The universal Mac build runs on both Apple silicon and Intel Macs, so you don't need to pick a version for your chip.
First launch
On first launch, Quiet Typist needs an internet connection to download and verify the default speech recognition model and the shared support models. Stay connected and wait for setup to finish before you import audio or video.
After the models are ready, audio and video transcription runs entirely on your device. Your files never need to be uploaded to a website or a third-party cloud drive.